

Installing a slight gas flowmeter in a long - distance pipeline might seem like a daunting task, but it doesn't have to be. As a supplier of Slight Gas Flowmeter, I've seen firsthand how a well - installed flowmeter can make a huge difference in monitoring and managing gas flow in long pipelines. In this blog, I'll walk you through the steps to install a slight gas flowmeter properly, so let's get started!
Step 1: Planning and Preparation
Before you even think about getting your hands dirty, you need to do some serious planning. First off, you've got to understand the requirements of your long - distance pipeline. What kind of gas is flowing through it? What's the pressure and temperature like? These factors are crucial because they'll determine the type of flowmeter that's right for your setup.
For example, if you're dealing with biogas, a Thermal Mass Gas Flowmeter For Biogas could be a great option. It's designed to handle the unique properties of biogas and provide accurate measurements.
Next, measure the pipeline. You need to know the diameter, length, and the location where you plan to install the flowmeter. This information will help you choose a flowmeter that fits the pipeline correctly. You don't want a flowmeter that's too big or too small, as it can lead to inaccurate readings.
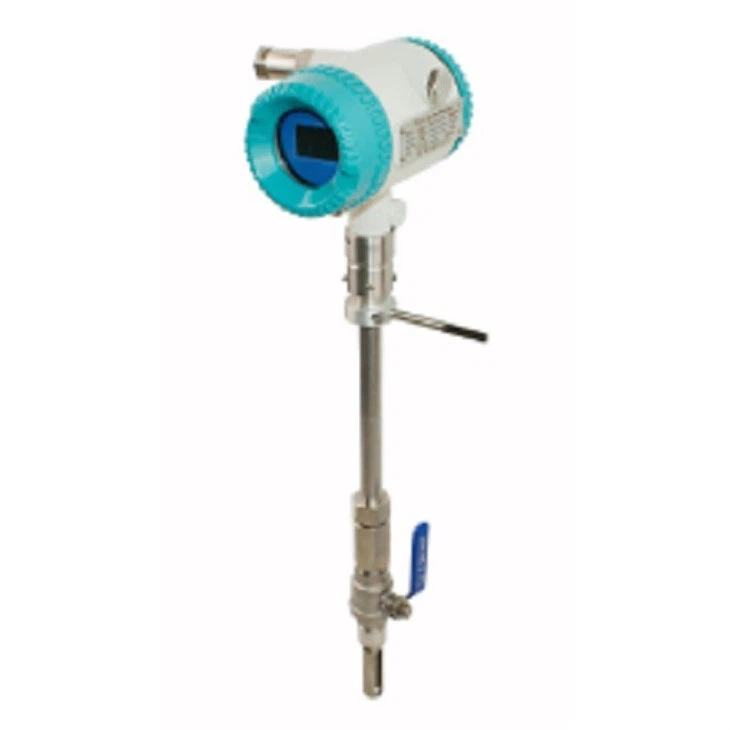
Also, make sure you have all the necessary tools and equipment on hand. You'll likely need wrenches, pipe cutters, welding equipment (if required), and some electrical tools if your flowmeter has an electronic component, like a Thermal Gas Mass Flowmeter with Digit Display.
Step 2: Shutting Down the Pipeline
Safety first, folks! Before you start any installation work, you need to shut down the gas flow in the pipeline. This is extremely important to prevent any accidents. Follow the proper procedures to isolate the section of the pipeline where you'll be installing the flowmeter.
You'll want to close the valves both upstream and downstream of the installation point. And don't forget to bleed the pressure from the section of the pipeline you're working on. This will ensure that there's no residual gas under pressure that could cause problems during the installation.
Step 3: Preparing the Installation Site
Once the pipeline is shut down and depressurized, it's time to focus on the installation site. Clean the area where the flowmeter will be installed. Remove any dirt, rust, or debris that could interfere with the proper installation and functioning of the flowmeter.
If the pipeline has been in use for a while, there might be some buildup on the inside walls. You may need to use a pipe cleaner or other cleaning tools to get the inside of the pipeline nice and clean. A clean surface will help create a good seal between the flowmeter and the pipeline, which is essential for accurate measurements.
Step 4: Installing the Flowmeter
Now comes the fun part - installing the flowmeter. First, carefully position the flowmeter at the marked installation point on the pipeline. Make sure it's aligned correctly and sits firmly in place.
Depending on the type of flowmeter and the pipeline, you may need to use different installation methods. For some flowmeters, you might need to weld them onto the pipeline. If that's the case, make sure you have a qualified welder on hand to do the job. Welding needs to be done properly to ensure a leak - free connection.
Other flowmeters can be installed using flanges or threaded connections. If you're using flanges, make sure to use the right gaskets to create a tight seal. Tighten the bolts evenly to avoid any uneven pressure that could cause leaks.
Step 5: Electrical Connections (if applicable)
If your flowmeter has an electronic display or needs to be connected to a control system, you'll need to make the electrical connections. Follow the manufacturer's instructions carefully when doing this. Make sure all the wires are properly insulated and connected to the right terminals.
Before you turn on the power, double - check all the connections to ensure there are no loose wires or short circuits. This step is critical because any electrical issues can lead to inaccurate readings or even damage the flowmeter.
Step 6: Testing and Calibration
Once the flowmeter is installed and the electrical connections are made (if necessary), it's time to test the system. Slowly open the valves upstream and downstream of the flowmeter to allow the gas to flow through the pipeline again.
Monitor the flowmeter readings to make sure they're within the expected range. If the readings seem off, you may need to calibrate the flowmeter. Calibration is a process of adjusting the flowmeter to ensure accurate measurements. Most flowmeters come with a calibration procedure in the user manual. Follow these instructions carefully to get the best results.

Step 7: Post - Installation Checks
After the testing and calibration are complete, do a final check of the entire installation. Look for any signs of leaks around the flowmeter connections. You can use a leak detection solution to check for small leaks.
Also, make sure all the electrical connections are still secure and there are no loose wires. Check the flowmeter display to ensure it's still showing accurate readings over a period of time.
Wrapping It Up
Installing a slight gas flowmeter in a long - distance pipeline is a multi - step process that requires careful planning, proper preparation, and attention to detail. By following the steps outlined in this blog, you can ensure a successful installation and accurate gas flow measurements.
If you're in the market for a high - quality slight gas flowmeter or have any questions about the installation process, don't hesitate to reach out. We're here to help you find the best solution for your long - distance pipeline needs. Whether you need a Thermal Mass Gas Flowmeter For Biogas, a Thermal Gas Mass Flowmeter with Digit Display, or our Slight Gas Flowmeter, we've got you covered. Contact us today to start the procurement and installation journey!
References
- Manufacturer's manuals of slight gas flowmeters
- Industry standards for gas flowmeter installation in long - distance pipelines


